In the slitting process of ribbon (heat transfer ribbon), the slitting machine is the core equipment. Its operational stability directly affects slitting accuracy, product yield, and production efficiency. However, after long-term and high-load operation, various abnormal noises often appear—not a sigh of "fatigue," but a sign of mechanical failure. Accurately identifying the source of abnormal noises and handling them promptly is key to ensuring production continuity and avoiding major losses.
1. Three main sources of abnormal noise: first listen to the sound to determine its position
The abnormal noise from the ribbon slitting machine is mainly concentrated in three major systems: bearings, gears, and drive belts. The three have different sound characteristics and different diagnostic directions.
1. Bearing abnormal noise: high-frequency, continuous, varying with speed
Bearings are the core support components for unwinding and rewinding shafts, guide rollers, and slot rollers. The types of abnormal noises include:
• Crisp "click" sound: mostly due to cage damage or damage to rolling elements, commonly occurring after overspeed operation or impact loads.
• Sharp "whistling" sound: mostly due to poor lubrication, oil drying or deterioration, leading to dry friction.
• Dull "rumbling" sound: mostly due to fatigue peeling of raceways or rolling elements, commonly seen under overload or natural end of life.
• Irregular "rustling" sound: mostly caused by dust and carbon ribbon debris entering the inside of the bearing.
2. Gear abnormal noise: strong periodicity, consistent with the meshing frequency
Gear transmission is widely used for tension control, synchronized winding, and tool post feeding.
• Strong "clang" impact sound: mostly caused by excessive tooth side clearance, caused by gear wear, bearing loosening, or increased center distance.
• Continuous "squeak" friction sound: mostly due to tooth surface wear or pitting, often caused by poor lubrication or the entry of hard particles.
• Irregular "creaking" scraping sound: mostly caused by foreign objects getting stuck between teeth, such as metal fragments or ribbon fragments.
3. Transmission belt noise: low frequency, rhythmic
Belt drives are mostly used for flexible variable speed transmission from the main motor to the blade shaft or winding shaft.
• Sharp, short, and squeaking sounds: mostly caused by slipping, insufficient tension, sudden increase in load, or belt contamination with oil.
• "Click" slapping sound: mostly due to belt loosening, causing the bumper to impact the protective cover during operation.
• Continuous "hissing" sound: mostly belt wear or aging, with cracks appearing on the back.
2. System inspection steps: From shutdown to positioning
When abnormal noises occur, it is recommended to follow these steps for systematic troubleshooting:
Step 1: Safe shutdown and preliminary characterization
Immediately stop the equipment, cut off the power, and lock the sign. Based on changes in position, tone, cycle, and load, a preliminary determination is made whether the abnormal noise is due to a bearing, gear, or belt, and the current operating conditions (speed, tension, slitting length) are recorded.
Step 2: Sensory examination
• Listening: After shutting down, press the stethoscope or long-handle screwdriver against the bearing housing or gearbox housing; the point where the abnormal noise is greatest is considered the fault source.
• Touch: Touch the bearing housing with the back of your hand. If the temperature is obviously hot (>70°C), it usually indicates lubrication or damage issues.
• Inspection: Open the gearbox observation window (if present) and check for lubrication and wear marks on the gear surfaces.
Step 3: Isolation test (narrowing the scope)
Disconnect the main drive or drive each shaft individually. For example, remove the belt and manually rotate the motor shaft and blade shaft to determine whether the abnormal noise comes from the motor side or the load side. For the cutter shaft, a dial indicator can also be used to measure runout: generally, the rollout of the cutter shaft of a precision slitting machine is allowed ≤ 0.01mm; any excess exceeding 0.05mm must be dealt with immediately.
Step 4: Disassemble verification and root cause governance
For the most suspicious components, dismantle them down to the visible core fault interface. Use tools such as magnifying glasses to confirm the damage type. Not only should you replace damaged parts, but also investigate the causes—such as overload, poor lubrication, centering deviation, loose foundation, or carbon belt dust accumulation.
3. Targeted Solutions
Based on the inspection results, graded measures are taken:
| Fault location | Common causes | Solution |
| Bearings | Lubricated and dried up | Clean and add specialized grease (recommended low-dust, high-temperature resistant lithium-based extreme pressure grease). |
| Damage to cages or raceways | Replace bearings of the same model in pairs, use special tools during installation, and strictly avoid knocking |
| Gears | Excessive gap on the side of the teeth | Measure with feeler gauge or micrometer, and adjust the center distance or tighten the base according to the equipment manual |
| Tooth surface pitting or tooth breakage | Replace gears and inspect shafts, bearings, and keysways |
| Belt | Insufficient tension | Tighten the belt appropriately (for every 100mm, press down 1-2mm from the center). |
| Aging, missing teeth, or wear | Replace the same model belt in groups and clean the toner sludge from the wheel grooves |
| The blade shaft bounces | Slight fluctuation (≤0.02mm) | Clean the cutter shaft, retighten the bearing locking nut, and replace the grease |
| Bearing wear causes runout | Use a bearing puller to disassemble evenly, heat the bearings, then install and re-measure runout |
| Shaft journal wear or bending | Brush plating is used for repair or spraying of tungsten carbide coatings, requiring outsourced professional treatment |
4. Trial Operation and Preventive Maintenance
Post-repair verification: First, run at low speed idling for half an hour; after no abnormal noise, gradually load to production speed. Record vibration and temperature baselines as reference for subsequent inspections.
Key points for preventive maintenance:
• Daily inspection: listen to sounds, feel temperature, check belts; Clean the guide roller and sensor, and remove carbon powder around the blade.
• Weekly maintenance: Check blade sharpness, belt tension, lubricate floating roller connecting rod bearings.
• Monthly maintenance: Check the integrity of the airbag on the expansion shaft, inspect all transmission bearings and add grease, and calibrate the tension sensor.
• Quarterly: Calibrate the guide roller parallelism, replace wear bearings, and thoroughly inspect electrical terminals.
Conclusion
The abnormal noise from the ribbon slitting machine is the equipment's "cry for help" language. Bearing abnormal noises are mostly high-frequency continuous metallic noises, rooted in wear, lubrication, or contamination; Gear abnormal noises have distinct periodic meshing impacts; Belt noises are mostly low-frequency slipping or tapping sounds.
By following the four steps of "seeing pulsation, hearing abnormal noises, feeling temperature vibration, and measuring accuracy," combined with scientific preventive maintenance, unplanned downtime can be significantly reduced, ensuring slitting accuracy and equipment lifespan. Remember: ignoring minor noises can lead to major malfunctions.

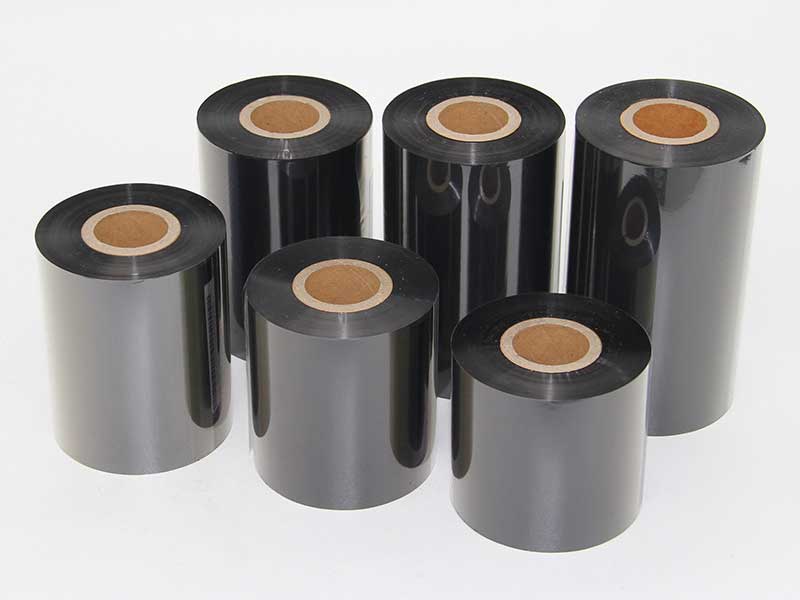
 Ribbon Slitting Machine
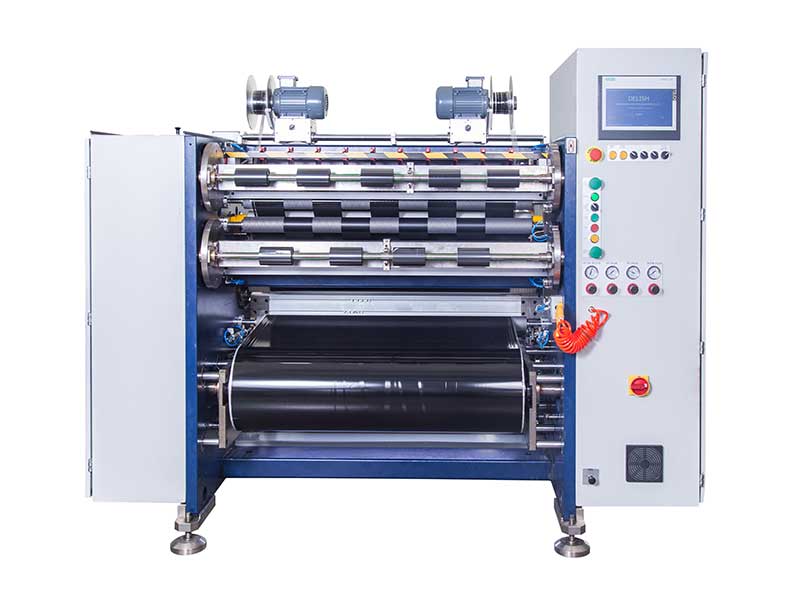 Barcode Ribbon Slitting Machine
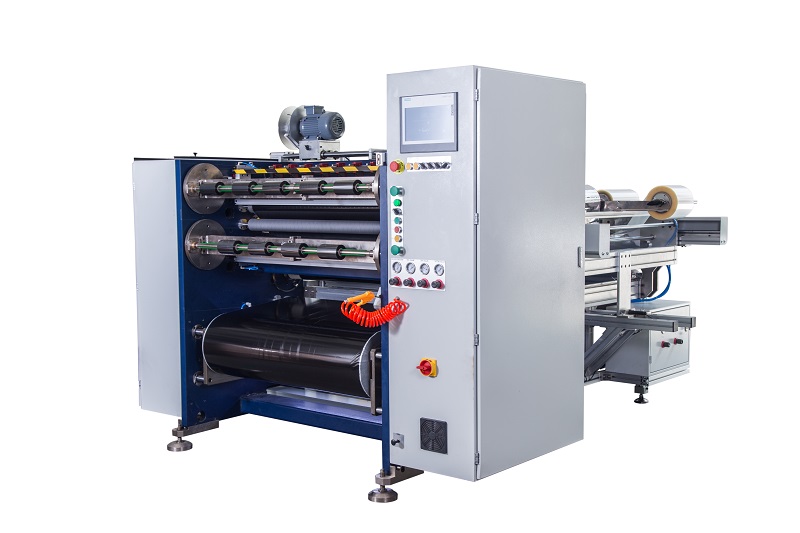 Semi Automatic Thermal Transfer Ribbon Slitter RSDS5 PLUS
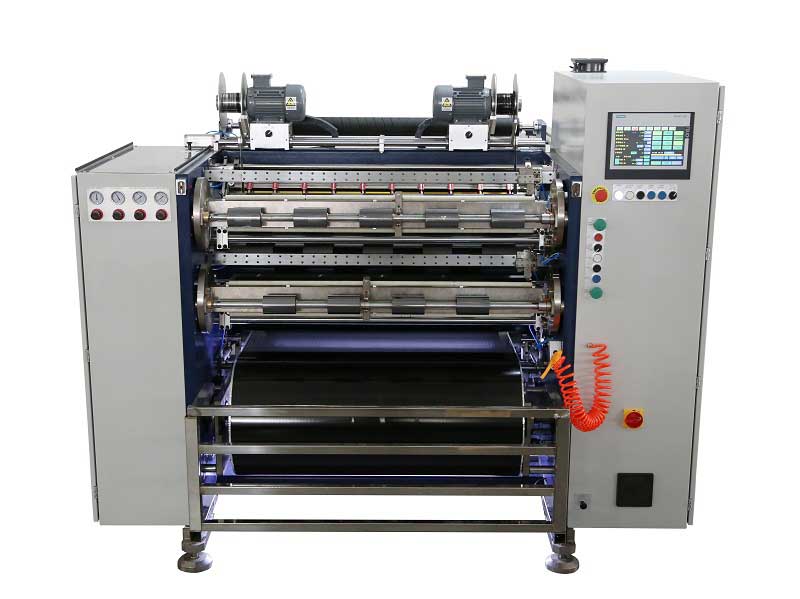 Automatic Thermal Transfer Ribbon Slitter RSDS8 H PLUS
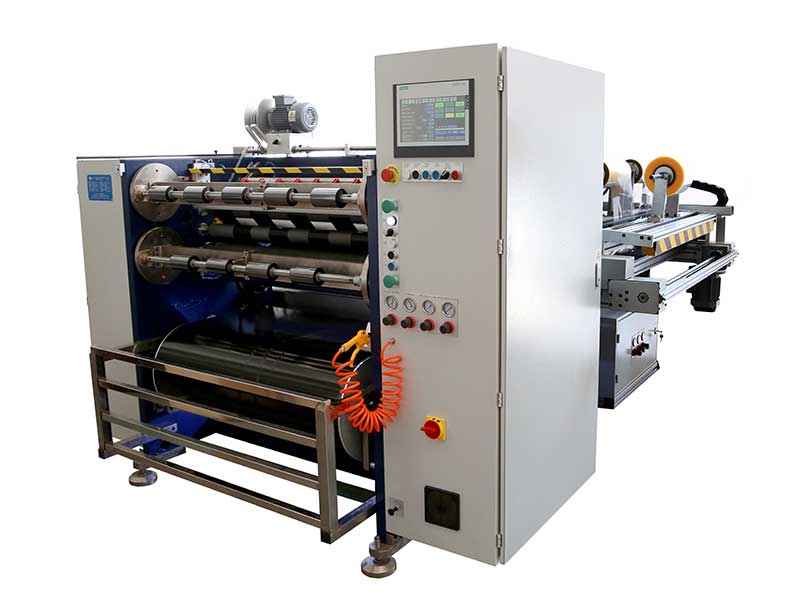 Automatic Thermal Transfer Ribbon Slitter RSDS6 PLUS
 Semi Automatic Thermal Transfer Ribbon Slitter RSDS1 PLUS
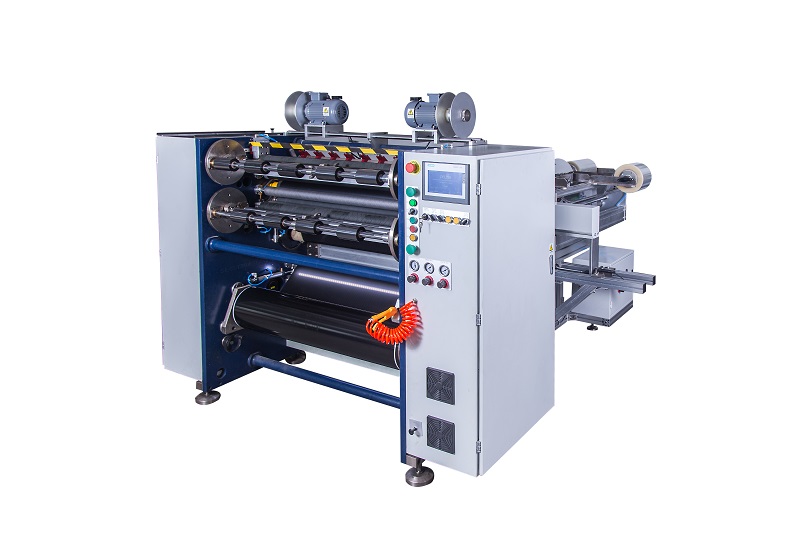 Semi Automatic Thermal Transfer Ribbon Slitter RSDS2 PLUS
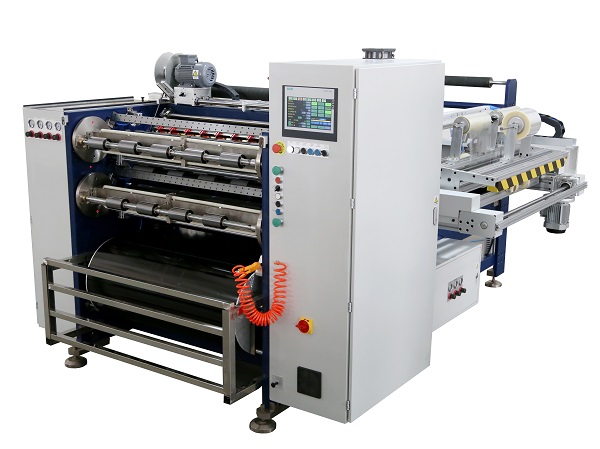 Automatic Thermal Transfer Ribbon Slitter RSDS8 PLUS