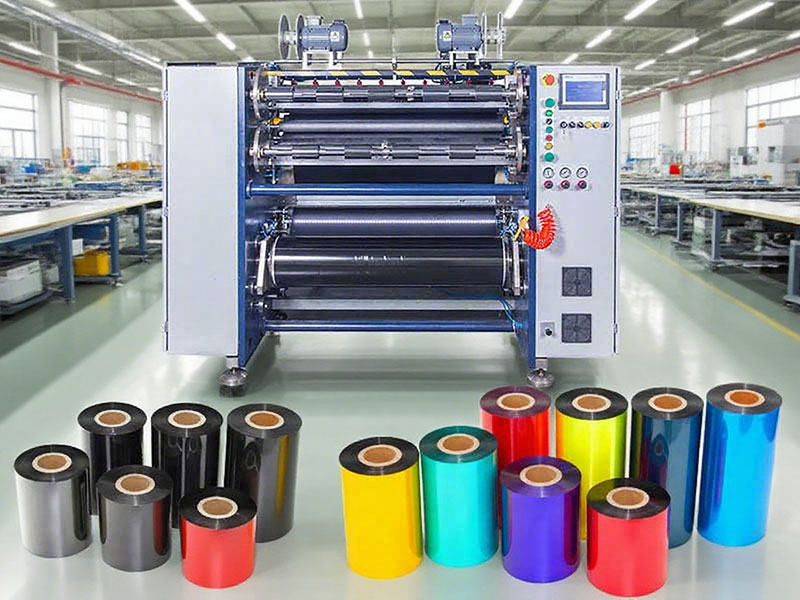
During the slitting process of ribbon (heat transfer ribbon), the winding quality directly determines the appearance of the finished product, transportation stability, and the user experience. Among them, uneven end faces and collapsed coils are the two most common quality defects. Experience shows that more than 80% of winding problems are related to improper adjustment of the pressing roller. This article will systematically sort out the adjustment skills around the pressure, position, parallelism and material matching of the rollers.

1. Analysis of the root cause of the problem
Before diving into the adjustment techniques, it is necessary to clarify the mechanical causes of two types of defects:
| Defect type | Typical performance | The main mechanical reasons |
| The end and face are uneven | The winding end face is jagged, flare-up, or individual layers protruding | The pressure roller is not parallel to the rewinding shaft; the local pressure of the pressure roller is uneven; The paper tube or core itself beats |
| Collapse | After winding, the coil is soft, radially deformed or collapses during transportation | insufficient winding tension; The pressure of the roller is too small; The tension gradient of internal tightness and external looseness fails |
The core function of the roller is to provide a controllable radial pressure at the winding point, assisting in the discharge of air between layers and the tight arrangement of the coils. The goal of the regulation is to ensure that the pressure is sufficient and uniform without causing lateral slippage of the film.

2. Five core skills for roller adjustment
1. Parallelism fine-tuning: the first priority to solve uneven end-faces
The roller axis must be parallel to the rewinding shaft axis in three-dimensional space, otherwise axial thrust will be generated with each turn.
• Static inspection method: In the shutdown state, use a feeler gauge or vernier caliper to measure the gap between the two ends of the pressure roller and the rewinding shaft, and the error should be ≤ 0.05mm/m. A common mistake is to adjust only one end, resulting in a "trumpet" roller.
• Dynamic verification: Run the slitting machine at low speed, paste 3-5 sheets of thin paper (such as sticky note paper) at an equal distance along the axial direction on the surface of the pressure roller to observe whether the depth of the paper being pressed into the trace is consistent. If it is uneven, fine-tune the top wire or gasket of the bearing housing at both ends of the pressure roller.
• Priority is given to ensuring the parallel of the working area: if the slitting width is only 1/3 of the length of the winding shaft, only the parallel within the width section is guaranteed, and a small amount of error is allowed at both ends.
2. Pressure Zone Setting: From "Overall Pressure" to "Tool-by-Tool Adjustment"
Traditionally, the total air pressure or the total spring pressure is adjusted, but the pressure required by the same pressure roller for ribbons in different positions, especially narrow bands with different slitting widths, is completely different.
• Segmented rollers: Use rollers composed of multiple independent briquetting blocks (or segmented air bags), each corresponding to 1-2 winding stations. The pressure in the narrow band area (width < 20mm) should be 20%-30% lower than in the wide band area to avoid wrinkles at the edge of the film.
• Cantilever adjustment: For older monolithic rollers, additional local counterweights or small springs are added at specific locations prone to uneven end faces, usually at both ends and in the middle of the rewinding shaft.
• Empirical starting value: For common PET substrate ribbons (thickness 4-6μm), the roller line pressure is recommended to start from 0.3-0.5kgf/cm, fine-tuning according to the winding hardness.
3. Scientific selection of pressure roll hardness and lamination material
The hardness and friction coefficient of the surface material of the roller are seriously underestimated.
• When the end face is uneven: check whether the rubber is locally hardened or worn to form a pit. It is recommended to use polyurethane overlay with a hardness of 60-70 degrees Shore A to take into account both fit and wear resistance. Too soft (< 40HA) will produce hysteresis deformation, resulting in pressure fluctuations; Too hard (> 90HA) cannot compensate for the ovality of the paper tube.
• Anti-static treatment: Ribbon slitting is prone to static electricity, resulting in interlayer rejection and loose end faces. The pressure roller coating should be mixed with conductive materials, the surface resistance should be controlled at 10⁶-10⁸ Ω, and reliably grounded.
4. Roller swing arm and torque matching: solve the linkage adjustment of collapsed coils
The pressure roller is usually mounted on the swing arm, and its gravity division or cylinder thrust needs to be linked with the change in the winding tension.
• Roller follow-up pressure: When the winding diameter increases from the initial 80mm to the maximum 150mm, the roller should automatically retreat through the swing arm mechanism, and the retraction force should be reduced. The advanced model adopts the synchronous decreasing curve of taper tension + pressure of the pressing roller; The simple model can be set manually: the pressure of the roller is slightly higher for small coils (to help with exhaust), and the pressure is reduced for large coils (to avoid squeezing the core layer).
• Anti-collapse coil bottom line: Press the side of the finished roll with your fingers, if it can be easily pressed in by more than 2mm, it means that the pressure of the roller or the tension of the rewinding is insufficient. At this time, the winding taper tension should be increased first (the starting tension is increased by 10%-15%), and then the pressure of the roller should be slightly increased.
5. Special materials and narrow adjustment skills
• Highly sensitive coated ribbons (e.g., resin-based, anti-counterfeiting ribbons): Excessive pressure on the roller can cause coating transfer or scratches on the back. Countermeasures: Reduce the pressure of the roller to 70% of the conventional level, increase the rewinding tension by 5%-8%, and adopt closed-loop control of the contact pressure sensor (optional for high-end slitting machines).
• Narrow band (width ≤ 15mm) uneven end face: often caused by the linear speed of the roller surface not synchronized with the winding shaft speed. Check whether the roller is driven by the rewinding shaft to rotate, ensure that the roller is driven and rotate flexibly, and add a small amount of damping (such as magnetic particle brake) to the roller bearing if necessary to avoid the roller from pulling the narrow belt ahead of inertia.
3. Quick troubleshooting table (practical on site)
| phenomenon | Priority inspection items | Adjust the action |
| Misalignment only occurs at one end of the reel | The end pressure roller is cleared from the rewinding shaft | Fine-tune the housing height at this end to reduce the clearance difference |
| The whole picture is randomly uneven | The surface of the pressure roller is worn or the paper tube runs out | Replace the roller overlaying; Improve the quality level of paper tubes |
| The scroll collapsed a few hours after winding | The winding tension curve is too flat | Increase the starting tension or taper factor |
| Roller marks are printed on the uncoated surface of the ribbon | The pressure of the pressing roller is too high or the overlapping is too hard | Reduce pressure by 30% or switch to flexible overlading |
| Some of the cut strips are good, but the rest are poor | The sharpness of the slitting knife is inconsistent | Change tools and check for knife pressure consistency |
4. Suggestions for operating specifications
1. Establish a roller adjustment record table: record the pressure value, roller swing arm angle, and winding tension curve corresponding to different ribbon models (width, substrate thickness, coating type) to form an internal process database.
2. Periodic calibration: check the parallelism of the press roll every 200 hours of operation; After each change of overlaying, the balance test must be re-activated.
3. Adjust the tension first, then adjust the pressure roller: The wrong habit is to only adjust the pressure roller and ignore the winding tension. Correct sequence: set a reasonable taper tension to make the coil preliminarily tight→ and then use a pressure roller to correct the local end face and hardness.
Epilogue
The winding quality of the ribbon slitting machine is the result of the synergy of "pressing, tensioning and flattening", and the roller adjustment is the most direct and intervenable link. By mastering parallelism fine-tuning, segmented pressure setting, material matching, and linkage logic, you can quickly locate and solve 80% of the problem of uneven end faces and collapsed coils within 10 minutes. It is recommended that operators develop the habit of "looking at the end face, touching the hardness by hand, and measuring parallel", and improve the adjustment of the pressure roller from empirical intuition to quantitative technology.

 Ribbon Slitting Machine
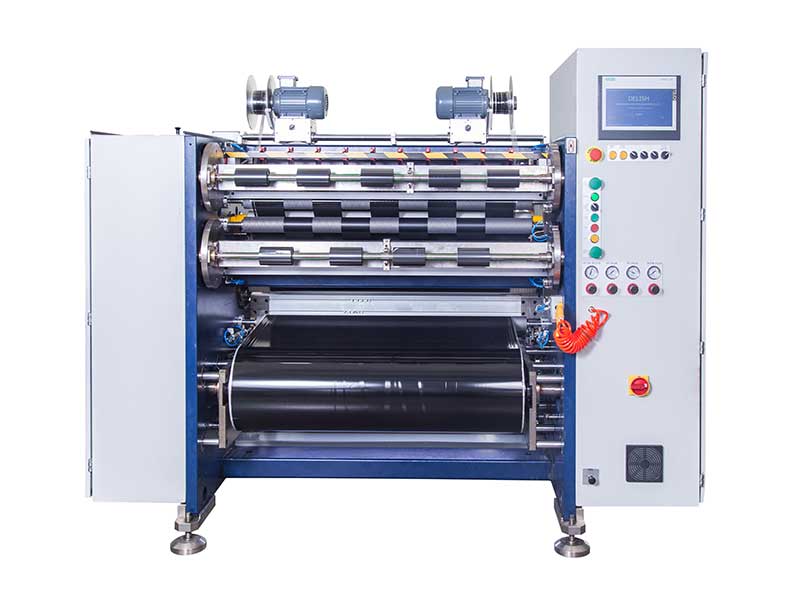 Barcode Ribbon Slitting Machine
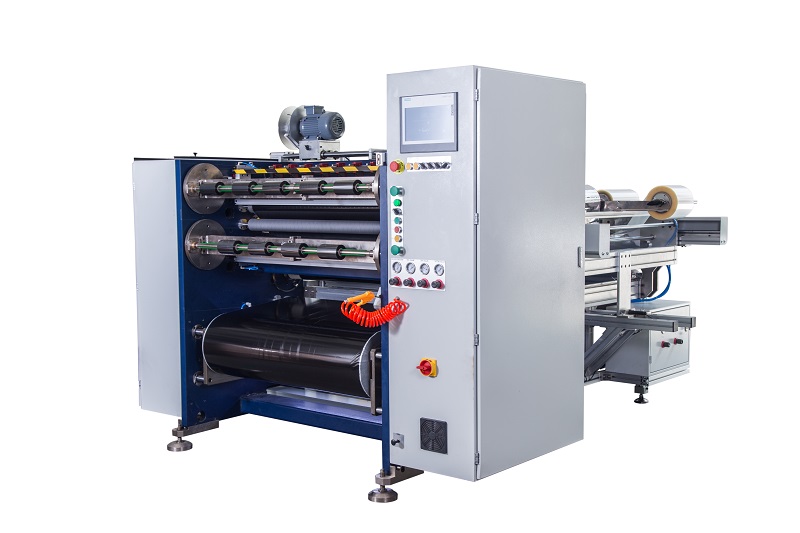 Semi Automatic Thermal Transfer Ribbon Slitter RSDS5 PLUS
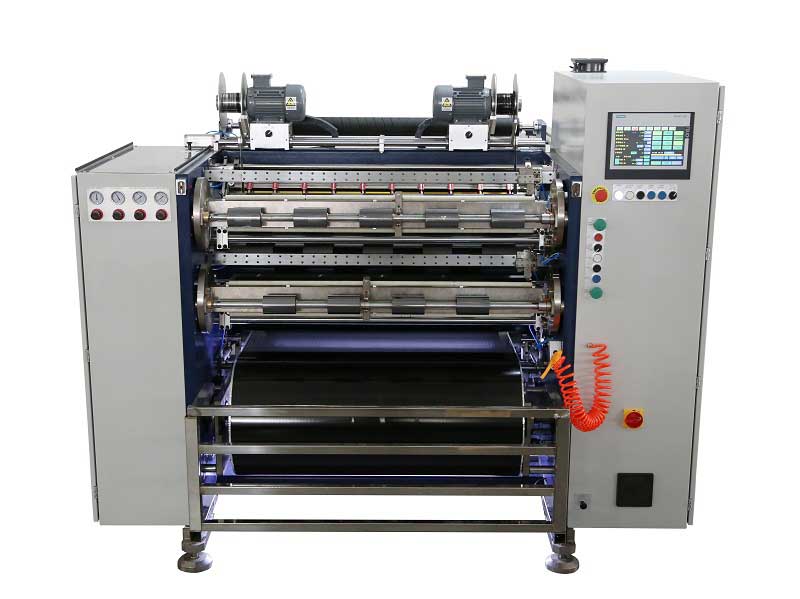 Automatic Thermal Transfer Ribbon Slitter RSDS8 H PLUS
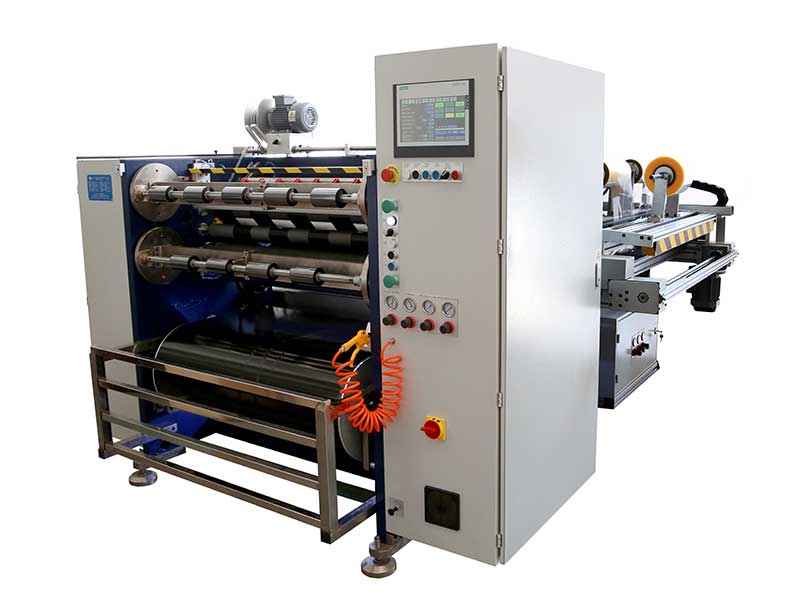 Automatic Thermal Transfer Ribbon Slitter RSDS6 PLUS
 Semi Automatic Thermal Transfer Ribbon Slitter RSDS1 PLUS
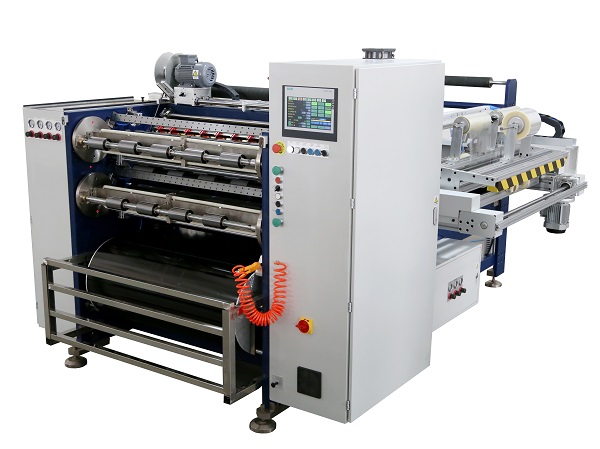 Automatic Thermal Transfer Ribbon Slitter RSDS8 PLUS
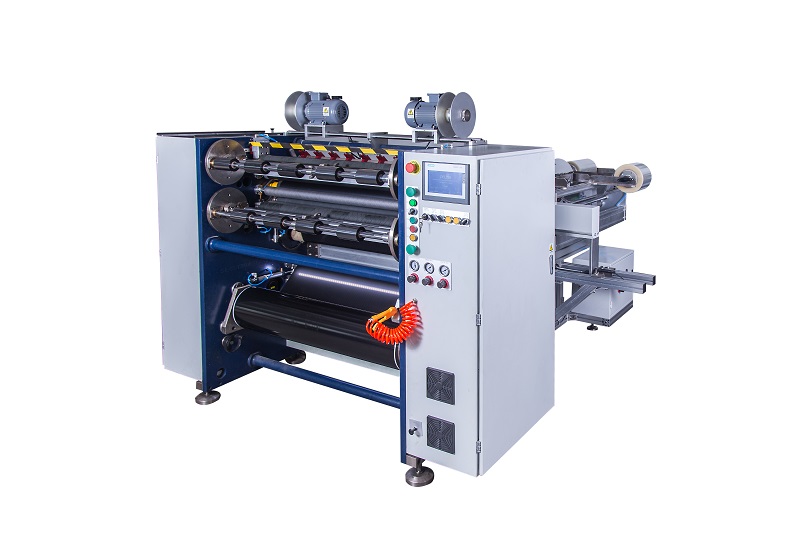 Semi Automatic Thermal Transfer Ribbon Slitter RSDS2 PLUS