1. Why is recalibration important after parameter reset?
During operation, the ribbon slitting machine may have electrical parameters reset due to abnormal power outages, system failures, misoperations, or maintenance needs. When parameters are restored to factory settings or lost, the equipment's control system loses its original operating reference. If production were put into direct production at this time, quality issues such as tension runaway, inaccurate metering, slitting misalignment may occur, and even lead to equipment safety accidents.
The purpose of recalibration is to help the equipment "recognize" its mechanical characteristics and process requirements, establishing a control parameter system that matches the current hardware status and production tasks. This process cannot be skipped or rushed.

2. Necessary preparations before calibration
Before starting calibration, be sure to make the following preparations; otherwise, the calibration results may be invalid or even mislead production:
1. Confirm the equipment is in a safe state: the emergency stop button is released, the protective cover is closed, and no one is standing around the machine in the hazardous area.
2. Check mechanical components: Ensure that all guide rollers, pressure rollers, and grooved rollers rotate smoothly, with no carbon tape residue or debris adhesion; Check that there is no leakage in the gas circuit of the expansion shaft.
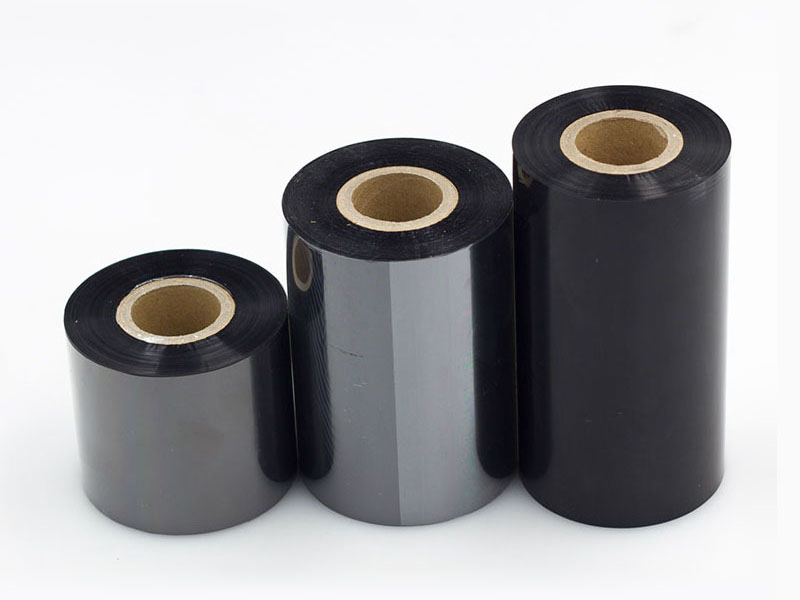
3. Prepare test materials: Select a strip of carbon ribbon of the same specifications as normal production as calibration test material, with a recommended length of no less than 50 meters.
4. Prepare all measuring tools: steel straightedge or tape measure (accuracy not less than 0.5mm), vernier caliper, marking stickers, etc.
5. Record existing available parameters: If the device has backup parameters or historical records, they can be used as references before calibration, but cannot be directly applied after reset; only for comparison.

3. Step-by-step calibration operation process
After resetting electrical parameters, recalibration involves three core systems: tension system, length gauge system, and tool positioning system. It is recommended to complete each item item in the following order.
Step 1: Tension system calibration
Tension is the primary factor affecting the quality of ribbon slitting. Excessive tension can easily cause ribbon stretching, deformation, or even breakage; too low tension leads to loose winding and uneven end faces.
Steps:
1. Bypass the test ribbon along the normal tape path around all guide rollers, tension rollers, and retract/release reels.
2. Enter manual mode of the equipment and run the ribbon at low speed (recommended 10-20 meters per minute).
3. Observe the status of the ribbon during operation:
◦ If wrinkles appear on the ribbon surface, gradually reduce the release tension;
◦ If the ribbon shaking or misalignment, appropriately increase the winding tension;
◦ If the ribbon slips on the guide roller, check the pressure of the roller and adjust accordingly.
4. Adjust until the ribbon is uniformly and steadily along the entire path, with no tension or slippage, then record the tension parameters at this point as the reference value for the batch.
Special reminder: Ribbons of different widths and thicknesses require different tensions. After changing material specifications, tension parameters must be recalibrated; they cannot be used indiscriminately.
Step 2: Calibration of the Metering System (Core Stage)
After resetting electrical parameters, parameters such as meter-related pulse equivalent and perimeter coefficient are often lost or restored to default, which is the most critical step for recalibration. Inaccurate metering can lead to non-compliant finished product lengths, resulting in batch scrapping.
Check before calibration:
Ensure the rice counter wheels rotate smoothly, have clean surfaces, and are free of oil stains or toner adhesion; Check that the encoder connection cable is not loose or damaged.
Recommended use of the "dynamic walking strap calibration method":
1. Affix a clear marker (such as a white sticker) at the start of the ribbon.
2. Fix a precision steel ruler on the machine and align the zero scale with the initial marking position.
3. Set the theoretical operating length of the equipment (e.g., 10 meters) and operate at normal production speeds.
4. After the equipment stops, read the actual movement distance of the mark relative to the ruler L_actual.
5. Calculate the error coefficient: error coefficient = L_actual / L_set (theoretical length).
6. Multiply the current pulse equivalent parameter by the error coefficient to obtain a new pulse equivalent value, which is then input into the control system.
7. Repeat the test 2-3 times to confirm that the calibration effect is stabilizing.
Alternative "static perimeter calibration method":
If the device supports direct modification of pulse equivalent, this method can also be used: mark the meter-counting wheel, rotate it exactly 10 full turns, measure the actual straight-line distance traveled, divide by 10 to get the actual circumference of a single revolution, then divide by the number of pulses per revolution of the encoder to obtain the correct pulse equivalent.
Acceptance standards: General ribbon slitting requires a meter-counting error of ≤0.3%, while high-demand products require ≤0.1%. After calibration, verification should be conducted separately at low, medium, and high speeds.
Step 3: Tool positioning and sensor calibration
Tool alignment calibration:
1. Set all blades to the unlocked state, starting from the fixed reference edge of the equipment, position each blade according to the slitting width specified by the process sheet, and measure precisely with a vernier caliper.
2. After locking the blade, run a test of material at low speed, then measure the actual width of each strip cut after shutdown. If the deviation from the actual value exceeds ±0.5mm, release the tool holder for fine adjustment and repeat the measurement.
3. After confirming all slitting widths are qualified, check whether the blades are parallel to the roller busbar, and adjust the tool holder angle if necessary.
Photoelectric sensor calibration:
1. Clean the sensor lens to ensure it is free of dust obstruction.
2. Move the ribbon slowly and observe whether the sensor indicator light is accurately on or off at the mark. If the signal is unstable, adjust the sensitivity knob or sensing distance.
3. When changing the ribbon type (such as a different color), it is recommended to retest the sensor status due to differences in reflectivity.
4. Comprehensive verification after calibration
After completing the above three calibration items, trial cutting verification is required and cannot be directly put into mass production. The following items are checked during trial cutting:
• Check whether the trimming edges are neat, free of burrs, and no sticking;
• Check whether the slitting widths of each strip are consistent and meet tolerance requirements;
• Check whether the winding end face is flat, with no obvious tower shape or misalignment;
• Check whether the actual length of each roll matches the set value, with errors within the allowable range.
It is recommended to first test cut a shorter length (such as 50 meters), and after passing inspection, gradually lengthen it to the normal production length.
5. Common Issues and Solutions
| Problematic phenomena | Possible reasons | Handling methods |
| After calibration, the tension remains unstable | Tension is not adjusted according to material properties | Confirm material specifications and recalibrate the tension curve |
| Meter counting is accurate at low speed, offset at high speed | The acceleration and deceleration compensation parameters are not set | Adjust acceleration and deceleration length compensation parameters |
| Meter-counting errors fluctuate randomly | Encoder signal interference or pressure wheel slippage | Check signal line shielding and clean the meter wheel |
| The slitting width deviation is unstable | The tool is not fully locked or the tool holder is loose | Retighten the tool and check the tool holder fixing screws |
6. Closed-loop management recommendations for calibration work
1. Establish calibration records: After each calibration, parameter values, test material specifications, and calibration dates should be recorded in detail for easy traceability and comparison.
2. Parameter backup: After calibration is complete, confirm and accurately back up parameters via device export or photo to prevent future abnormal reset and no reference.
3. Handling by Distinguishing Shutdown Types: Normal shutdowns not caused by power outages do not require recalibration; If the power is not normal, the system is reset due to a fault, or parameters are mistakenly altered, the entire calibration process must be re-executed.
4. Personnel training: Calibration work should be performed by trained operators or equipment maintenance personnel to avoid introducing new errors due to improper operation.
Core principle: Calibration is not a one-time task, but a quality assurance procedure that must be carried out after each parameter reset or replacement of key production factors. Spend thirty minutes completing precise calibration, avoiding hours of batch rework.
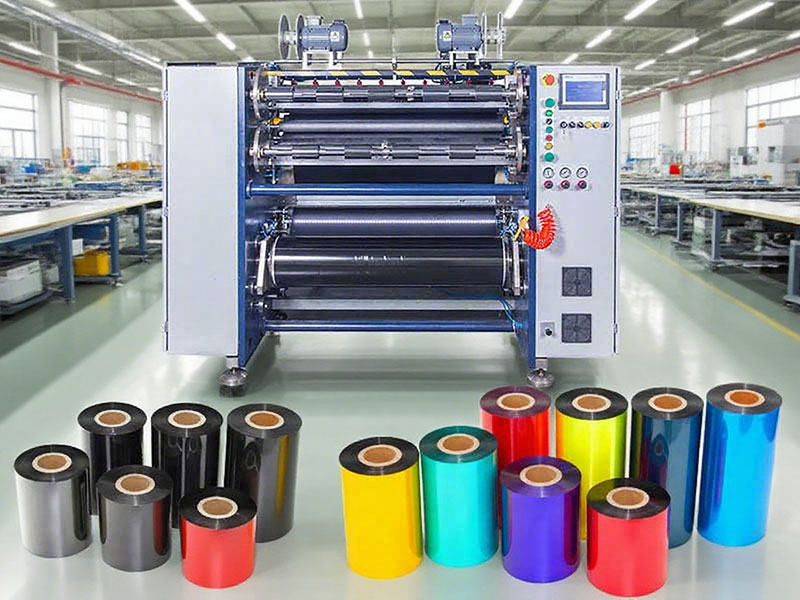
 Ribbon Slitting Machine
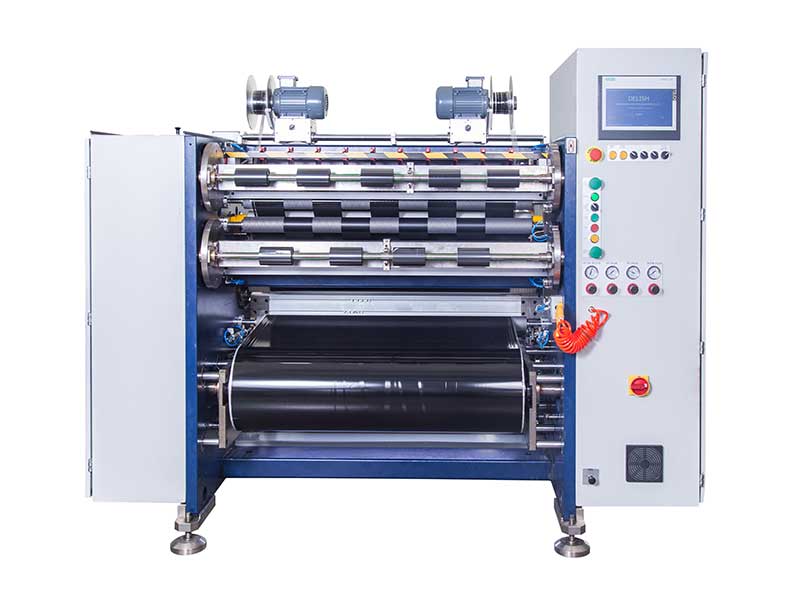 Barcode Ribbon Slitting Machine
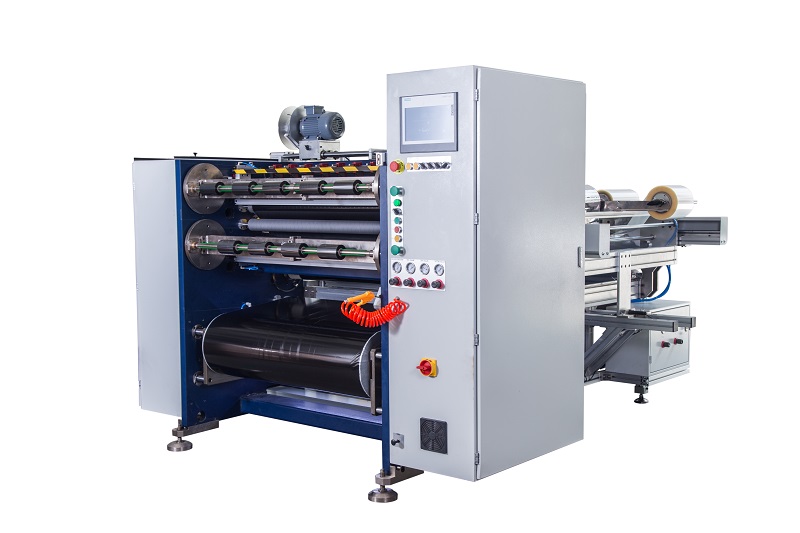 Semi Automatic Thermal Transfer Ribbon Slitter RSDS5 PLUS
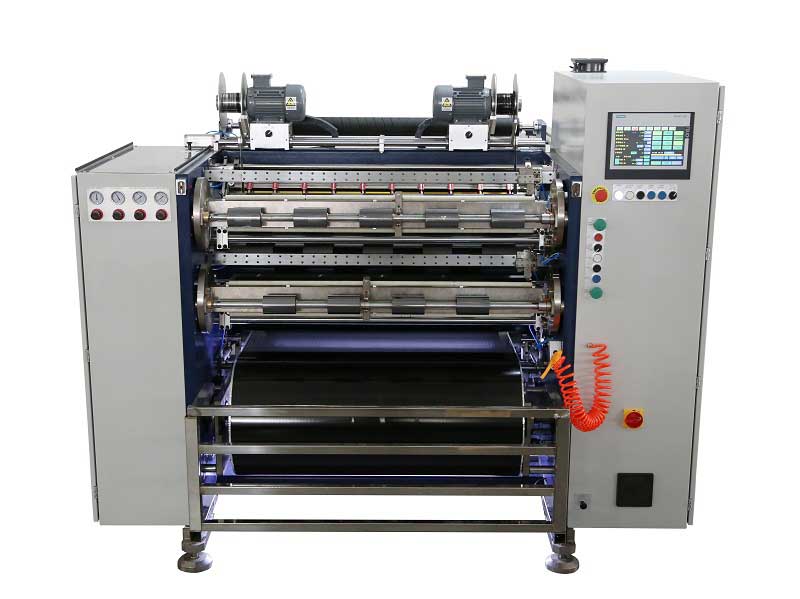 Automatic Thermal Transfer Ribbon Slitter RSDS8 H PLUS
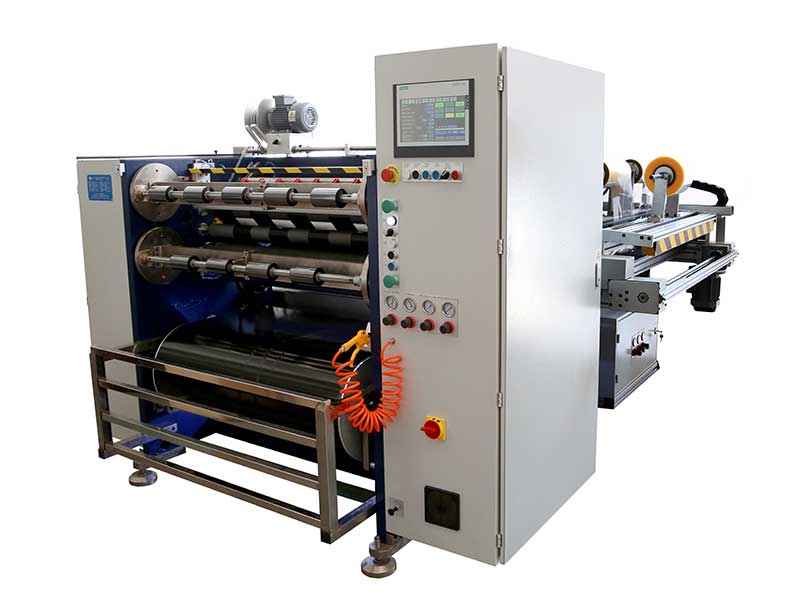 Automatic Thermal Transfer Ribbon Slitter RSDS6 PLUS
 Semi Automatic Thermal Transfer Ribbon Slitter RSDS1 PLUS
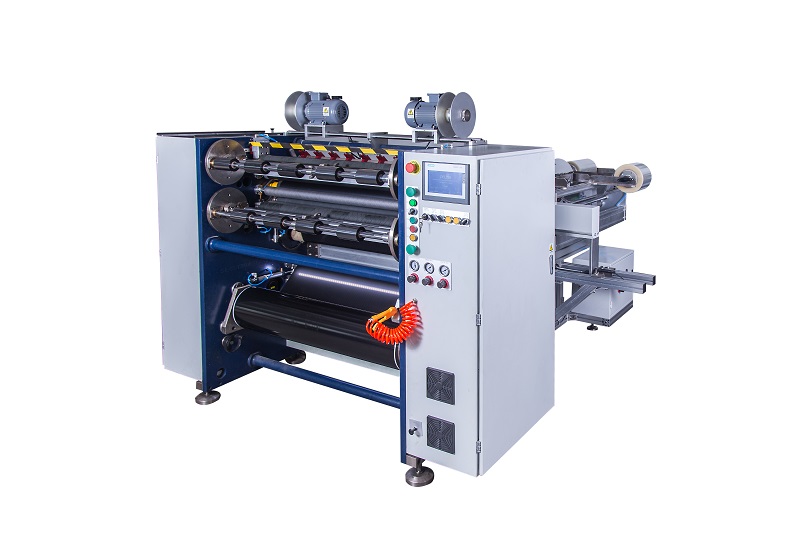 Semi Automatic Thermal Transfer Ribbon Slitter RSDS2 PLUS
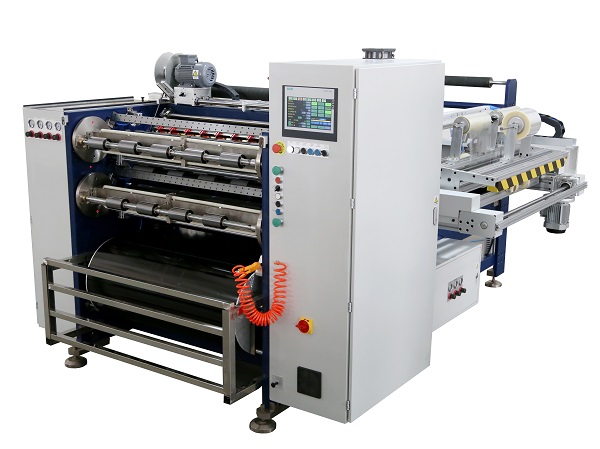 Automatic Thermal Transfer Ribbon Slitter RSDS8 PLUS