1. Overview of the Issue
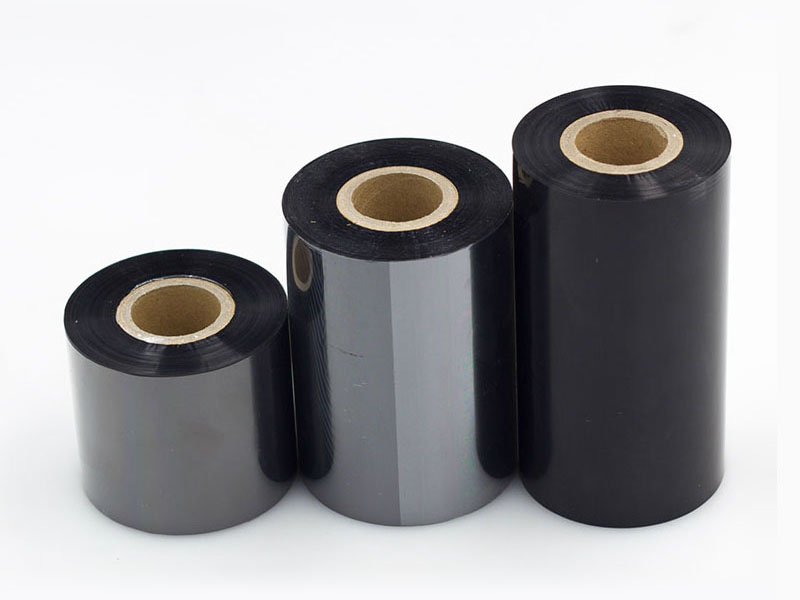
Uneven end faces when winding ribbon slitting machines are one of the most common quality defects in the slitting process. Typical manifestations include jagged end faces, bell-shaped edges, tower-shaped curling, or protruding individual layers. Such issues not only affect product appearance but can also cause ribbon misalignment, wrinkles, or even breakage during downstream printing, directly affecting the finished product pass rate and customer satisfaction.
The flatness of the winding end face is the result of the synergistic action of multiple factors such as tension control, correction accuracy, mechanical parallelism, and tool condition. Over 80% of winding issues are concentrated in three stages: tension, correction, and roller adjustment. Below, from diagnosis and correction to implementation, we systematically outline actionable solutions.
2. Problem diagnosis: first look at the symptoms, then find the cause
Before making adjustments, you should first assess the direction of the problem by looking at the end and face patterns to avoid blind operations.
| End face phenomenon | Possible reasons |
| Single side protrudes, overall tapered (bell-mouthed) | The winding tension is too high, or the pressure at both ends of the pressure roller is uneven |
| The ends are neat, with the middle loose or raised | The winding shaft is bent or deformed, or the gap between the inner diameter of the paper tube and the shaft is too large |
| The end face exhibits periodic wave oscillation | Wear or uneven gap between slitting blades and cut edges generate periodic stress |
| Shift the whole thing to one side | The guide rollers are not parallel, or the correction system may fail |
| The end face is soft, allowing fingers to press in by more than 2mm | Insufficient winding tension or insufficient pressure in the roller press, resulting in insufficient interlayer venting |
Only by identifying the symptoms can you "prescribe the right medicine." The following introduces correction methods in order from simple to complex.
3. Correction method: Progress from simple to complex, checking item by item
1. Tension adjustment: the most prioritized and fastest method
Tension is the primary factor affecting the flatness of the winding end face. Excessive tension causes the ribbon to be overstretched, increasing interlayer pressure causing lateral slip, and the end face to appear "protruding"; If the tension is too low, the core becomes loose, the winding becomes loose, and the end face collapses.
Quick tuning:
Reduce the winding tension controller by 5-10% each time, then test run 2-3 meters to observe the effect. For most ribbons, the winding tension is controlled at 3-5N (based on a 10mm wide test strip) as an empirical reference value.
Advanced Advice:
Adopts a taper tension control mode—as the winding diameter increases, the tension is gradually reduced to prevent the outer layer from crushing the inner layer. The unwinding tension and the rewinding tension must match; if the unwinding damping is uneven, upstream tension fluctuations will be transmitted to the rewinding end.
The ribbon substrate is relatively thin (usually 4-6μm PET), and tension fluctuations accumulate at the core of the roll, appearing as "daisy cores" or localized protrusion, which are often visible to the naked eye only after winding is complete. Therefore, tension adjustment is the first stop in the investigation.
2. Deviation correction system inspection: The core line of defense ensures the end face is neat
The automatic correction system uses sensors to detect the edge position of the material and drives the actuator to correct the running trajectory in real time. If correction fails, the collection will inevitably be uneven.
Quick Verification:
Gently push the edge of the running ribbon by hand to observe whether the correction sensor responds. If there is no response:
• Clean photoelectric sensor lenses—dust is the most common source of interference
• Check whether the straightening actuator (lead screw, rail, or cylinder) is jammed, and whether the air hose has fallen off or bent
• Confirm that the sensor position aligns with the material edge and whether the detection reference is offset
Advanced Advice:
The correction response speed must match the winding line speed—too slow will cause edge fluctuations, too fast will cause oscillations. Some high-end slitting machines are equipped with electric fine adjustment mechanisms, allowing operators to fine-tune the position of the photoelectric head on the winding side via motor buttons, reducing downtime.
3. Roller parallelism and pressure adjustment: Precisely corrects local unevenness
If the roller axis and the rewinding shaft axis are not parallel in three-dimensional space, each rotation generates axial thrust, pushing the ribbon to one side and causing uneven end faces. This is the most common reason for single-sided protrusion of the end face.
Static Examination Method:
After shutdown, use feeler gauges or vernier calipers to measure the gap between the pressure roller ends and the winding shaft; the error should be ≤ 0.05mm/m. If the resistance sensation differs at both ends, a 0.1-0.2mm thin shim can be placed under the bearing seat at one end of the pressure roller for temporary calibration.
Dynamic Verification Method:
Run the slitting machine at low speed, and stick 3-5 sheets of thin paper at equal distances along the axial direction on the surface of the pressure roller, observing whether the depth of the pressed marks on the paper is consistent. If uneven, fine-tune the bearing housing top thread.
Pressure zone setting:
Traditional methods only adjust the total air pressure, but the same pressure roller requires different pressures for ribbons of different widths. The pressure on the narrow band (width <20mm) should be 20%-30% lower than in the wide band area to avoid creasing at the edges. It is recommended to start trial adjustment of roller line pressure from 0.3-0.5kgf/cm (for PET substrate ribbons).
4. Tool condition check: eliminate the root causes of periodic oscillation
Blade wear can cause burrs or micro-tears, which accumulate gradually during winding, resulting in uneven end faces. "Periodic swing" usually arises from uneven slitting tools.
Inspection steps:
• Observe whether the edges of each ribbon have burrs or waves after slitting
• Recalibrate the gap between the upper and lower cuts using a 0.02mm feeler gauge—the recommended ribbon gap is 0.01-0.03mm (about half that of regular paper)
• The overlap between the upper and lower blades is recommended to be 0.5-1.0mm
• Replace blades directly when severely worn—replacing the blade is better for new ones than sharpening, making the time cost more cost-effective
5. Rolling rolls and paper tubes in pairing: The easily overlooked "invisible killer"
Excessive gap between the inner diameter of the paper tube and the outer diameter of the winding shaft can cause core runout, directly reflected in uneven end faces.
• Standard fit: Gap ≤ 0.3mm
• If the gap > 0.5mm: a layer of masking paper can be wrapped around the reel as a temporary solution
• Long-term procurement of paper tubes with qualified tolerances is required
If the winding reel itself is bent, check it with a dial gauge, and keep radial runout within 0.05mm.
6. Static Elimination: Necessary measures in special scenarios
Friction between the carbon ribbon base film (PET) and metal rollers easily generates static electricity, leading to interlayer repulsion and loose end faces. Roller coating should incorporate conductive materials, with surface resistance controlled between 10⁶-10⁸Ω and reliably grounded. If necessary, install static eliminators on the equipment.
4. 30-minute rapid troubleshooting process
It is recommended to follow these steps to avoid ineffective messaging:
1. Step 1 (2 minutes): Clean the correction sensor lens and observe the effect
2. Step 2 (5 minutes): Reduce the rewinding tension by 10% and run 3 meters
3. Step 3 (10 minutes): Check the parallelism of the pressure rollers and adjust the gasket if necessary
4. Step 4 (10 minutes): Recheck the slitting knife gap
5. Step 5 (3 minutes): Replace the rewinding paper tube to ensure a tight fit with the shaft
Principle: Change only one variable at a time, observe the effect before proceeding to the next step, and avoid multi-factor interference.
5. Daily prevention recommendations
1. Establish a process database: record tension values, roller pressure, and taper curves corresponding to different ribbon models (width, substrate thickness, coating type), forming internal standards
2. Periodic inspection: Use a ruler to check guide roller parallelism each shift; deviations exceeding 0.1mm/m require calibration; Check the roller parallelism every 200 hours of operation
3. Blade life management: Replace every 100,000 meters of cutting or when burrs appear
4. Clean the reel regularly: Prevent toner buildup that could cause incorrect tube installation
Conclusion
The uneven end face of ribbon slitting machines is essentially an external manifestation of a subtle imbalance among "tension, parallelism, and correction." By mastering the above systematic diagnostic and correction methods, most issues can be identified and resolved within 30 minutes. Before adjusting, it's recommended to take photos to record the original state so you can recover after any ineffective operations—something many experienced users overlook. When the basic precision of the equipment has seriously deteriorated (such as the rewinding reel bending by more than 0.3mm), mechanical repairs are still needed—but that's another topic.

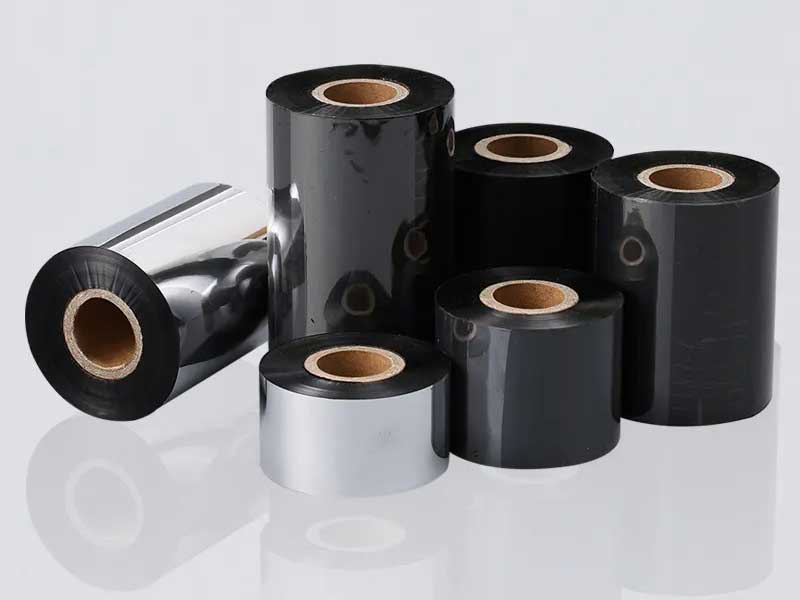
 Ribbon Slitting Machine
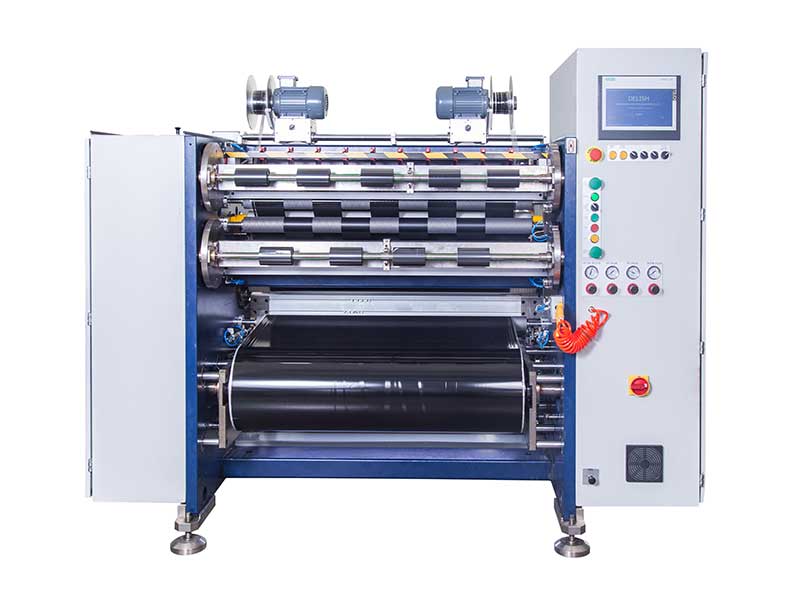 Barcode Ribbon Slitting Machine
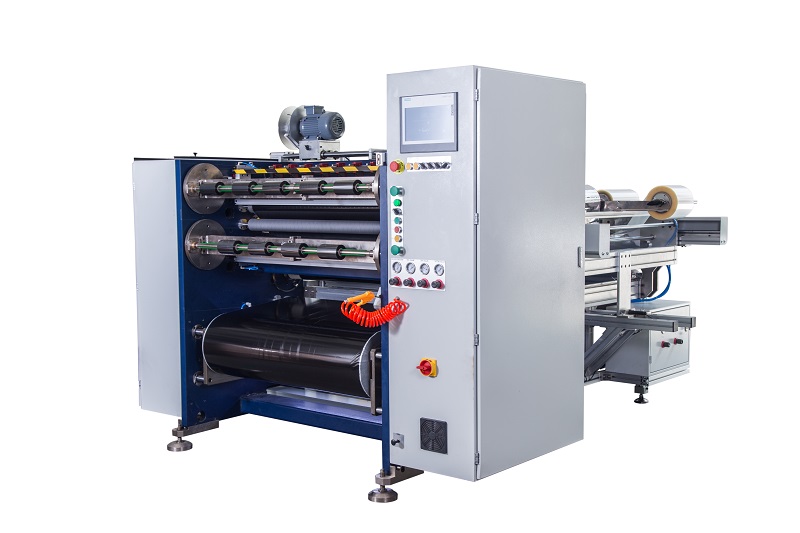 Semi Automatic Thermal Transfer Ribbon Slitter RSDS5 PLUS
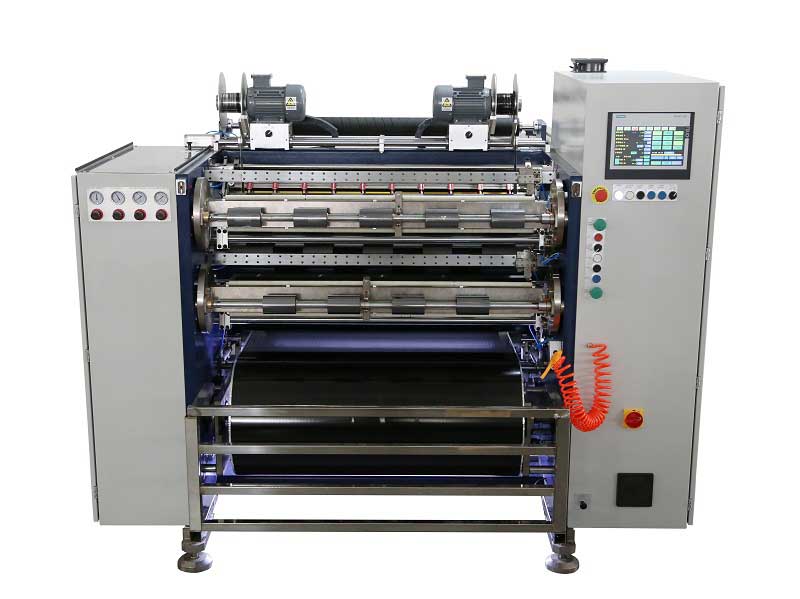 Automatic Thermal Transfer Ribbon Slitter RSDS8 H PLUS
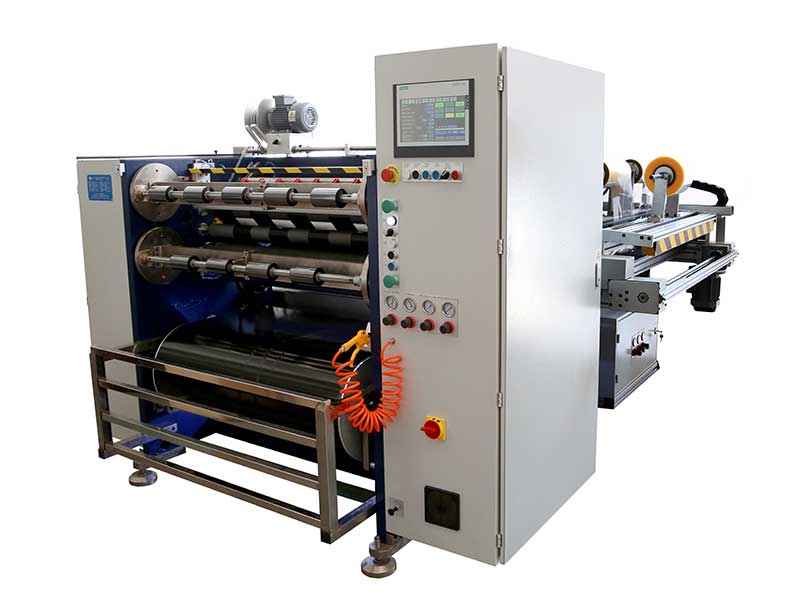 Automatic Thermal Transfer Ribbon Slitter RSDS6 PLUS
 Semi Automatic Thermal Transfer Ribbon Slitter RSDS1 PLUS
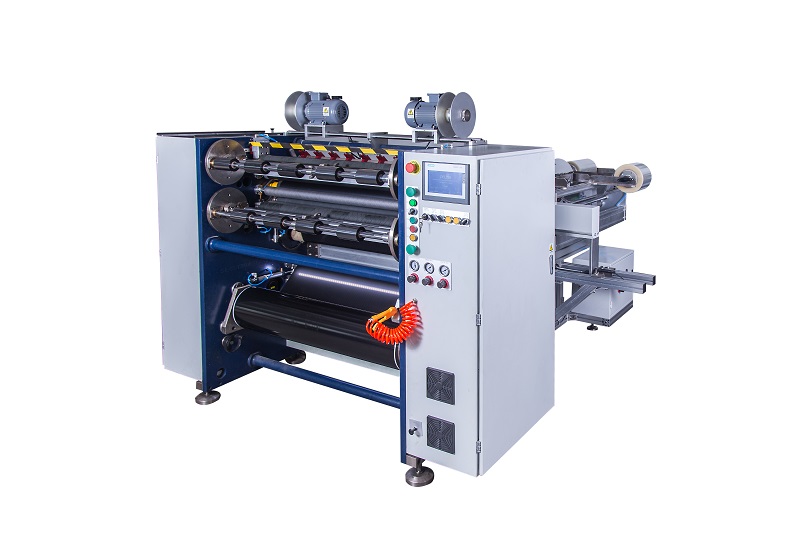 Semi Automatic Thermal Transfer Ribbon Slitter RSDS2 PLUS
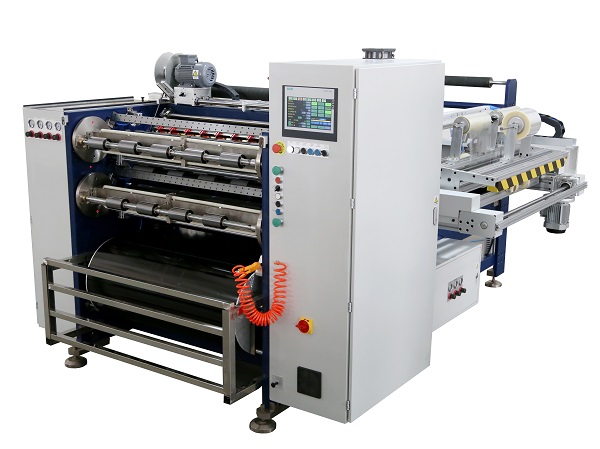 Automatic Thermal Transfer Ribbon Slitter RSDS8 PLUS