During the use of the ribbon slitting machine, the unstable tension is a relatively common fault. Unstable tension will directly lead to uneven edges, wrinkles, and even broken ribbons in the slitted ribbon, seriously affecting product quality and production efficiency. So, when encountering the tension of the ribbon slitting machine, how should it be adjusted? Let's explain in detail from two aspects: cause analysis and solutions.
1. Common manifestations of tension instability
• The slitted ribbon is loose and tight
• The winding end face is uneven, in the shape of a "bell mouth"
• The ribbon has lateral swing or longitudinal jitter during operation
• Intermittent slippage or excessive pulling during winding or unwinding
2. The main cause of tension instability
1. Faulty release shaft brake – worn brake pads or unstable brake pressure
2. Slippage of the rewinding shaft friction plate – The friction plate is severely worn or the spring pressure is insufficient
3. Tension sensor (floating roller) jamming – Bearings are rusted or accumulate too much dust
4. Abnormal control circuit or frequency converter parameters – Given signal fluctuations or improper PID parameters
5. Abnormal mechanical transmission section – loose belts, damaged bearings, or worn gears
6. Material itself issues – ribbon core deformation, poor joints, or uneven material thickness

3. Specific steps for tension adjustment
Step 1: Check the mechanical part
1. Check whether each guide roller rotates flexibly
Pluck all guide rollers by hand to make sure there is no stuttering or abnormal noise. If it is found that it does not rotate or rotates heavily, the bearing needs to be cleaned or replaced.
2. Check the friction plates/clutches of the unwinding and rewinding shafts
Disassemble the shaft end cap and observe the wear of the friction plate. If the wear is serious, replace it directly; If the spring pressure is insufficient, tighten or replace the spring appropriately.
3. Check the belt and timing belt
Observe for aging, cracks, or sagging. Adjust the tensioner appropriately or replace the belt directly.
4. Check the floating roller (tension pendulum roller)
The floating roller should be able to swing up and down freely without any jamming. Clean the rollers and bearings, and add an appropriate amount of lubricating oil if necessary (be careful not to drip onto the contact surface of the ribbon).
Step 2: Check the air system (if pneumatic tension control)
1. Check if the barometer is stable
The air source pressure should be between 0.4-0.6MPa, and the pointer should not shake. If the air pressure is unstable, check the air compressor and filter pressure reducing valve.
2. Check the unwinding brake cylinder or rewinding clutch cylinder
whether there is air leakage. Apply soapy water to the joints and cylinder piston rods, if there are bubbles, it means air leakage, and the seal needs to be replaced.
3. Whether the regulator is normal
Rotate the pressure regulator knob to observe whether the pressure change is sensitive and stable. If there is a jump change, it means that the internal diaphragm of the regulator is damaged and needs to be replaced.

Step 3: Check the electrical and control system
1. See if the tension fluctuates in a given signal
If the potentiometer is given, use a multimeter to measure the voltage at the output of the potentiometer, and it should change smoothly when rotating. If it is a touch screen, check whether the internal parameters have been changed by mistake.
2. Check the tension sensor (if any)
The sensor output signal should be reasonably varied under no load and load. If the signal jump is severe, it may be due to sensor damage or poor line contact.
3. Adjust the PID parameters of the frequency converter
For equipment with closed-loop tension control, the tension fluctuation can be effectively suppressed by appropriately reducing the proportional gain (P) and increasing the integration time (I). The specific value needs to be set according to the guidance of the equipment manufacturer or on-site debugging experience, generally the P value starts from 5-10, and the I value starts from 0.5-2 seconds.
4. Check the encoder feedback signal
The encoder connection wire should be firm and undamaged, and check whether the encoder output pulse is continuous with an oscilloscope or multimeter frequency file. Interruption of the pulse signal can cause the velocity to run out of control, which in turn causes tension fluctuations.
Step 4: No-load and load test run
1. No-load test machine
Do not wear a ribbon, only let the machine idle, and observe whether the rollers rotate smoothly and whether there is any abnormal noise or vibration.
2. Threading the tape test machine
Wear the ribbon according to the normal path, run at low speed (such as 10-20 m/min) first, and observe whether the tension is stable. If it is stable, gradually increase the speed to normal production speed.
3. Fine-tune the unwinding and rewinding tension
◦ If the winding is too tight (core crushing), the winding tension should be reduced or the unwinding tension should be increased.
◦ If the winding is loose, increase the winding tension or decrease the winding tension.
◦ Adjustment should be made in small amounts (5%-10% each time), and the next step should be decided after observing the effect.
4. The formula for quickly determining the cause of tension instability
• First, check whether the guide roller rotates, and secondly, check whether the friction plate is worn out;
• Three measurements of air pressure stability, four adjustments of PID soft or not;
• The five inspection lines are not workable, and the sixth question is whether the materials have been replaced.
5. Daily maintenance suggestions
1. Clean the toner and dust on the surface of each guide roller and floating roller every shift
2. Check the wear of the friction pads and brake pads once a week
3. Check the air circuit system every month for air leakage
4. Calibrate the tension sensor and pressure gauge quarterly
5. Regularly grease the bearings (once every six months for high-speed bearings, once a year for ordinary bearings)
6. When do you need to hire professionals?
If the problem of unstable tension still exists after adjusting according to the above methods, or you find the following situations, it is recommended to contact the equipment manufacturer or professional maintenance personnel:
• The control board has obvious burnt marks or damaged components
• The frequency converter alarms frequently and cannot be eliminated
• Mechanical parts are broken or severely deformed
• The entire tension control system needs to be replaced
Summary
The tension of the ribbon slitting machine is unstable, which is mostly caused by mechanical jamming, friction plate wear, air leakage or improper PID parameters. In accordance with the principle of "mechanical first and then electrical, no-load first and then load", most of the problems can be solved by themselves. If the equipment is old or the fault is complex, do not blindly dismantle and repair, it is safer to seek help from professionals in time.
I hope this article can help you quickly solve the problem of unstable tension in the ribbon slitting machine and improve the quality and production efficiency of slitting.

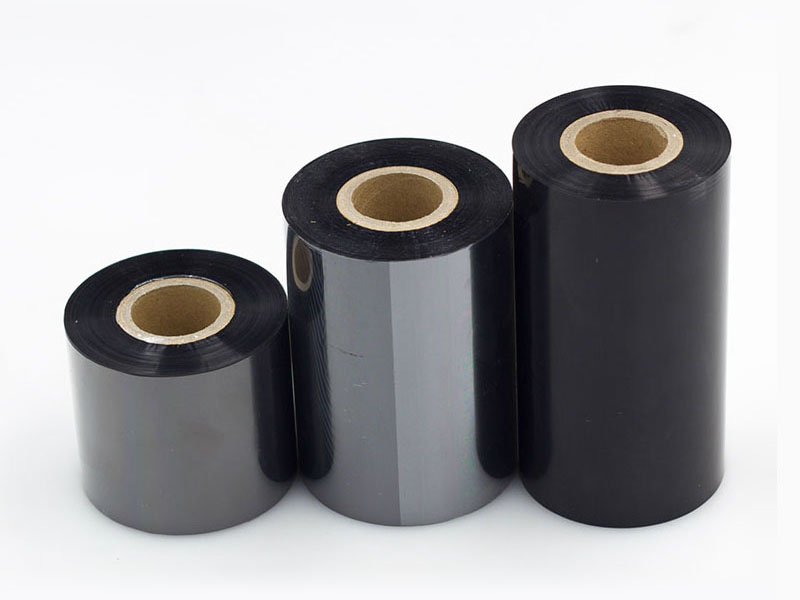
 Ribbon Slitting Machine
 Barcode Ribbon Slitting Machine
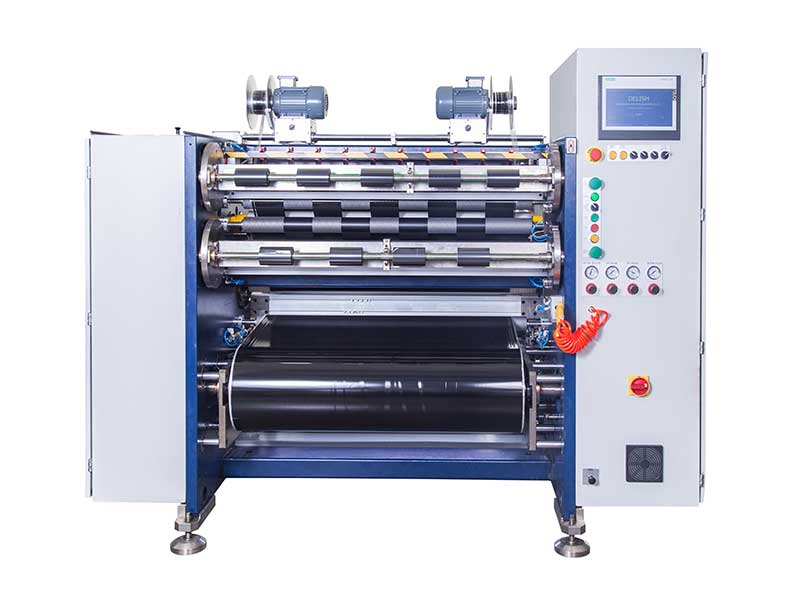
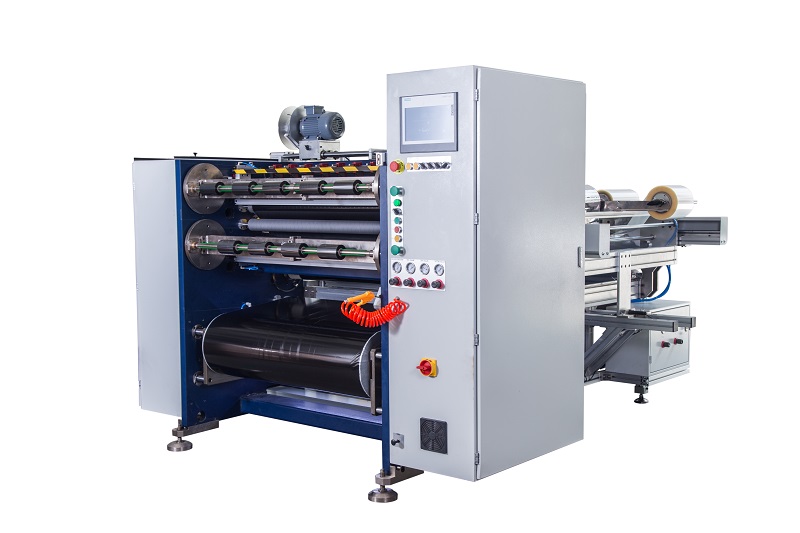 Semi Automatic Thermal Transfer Ribbon Slitter RSDS5 PLUS
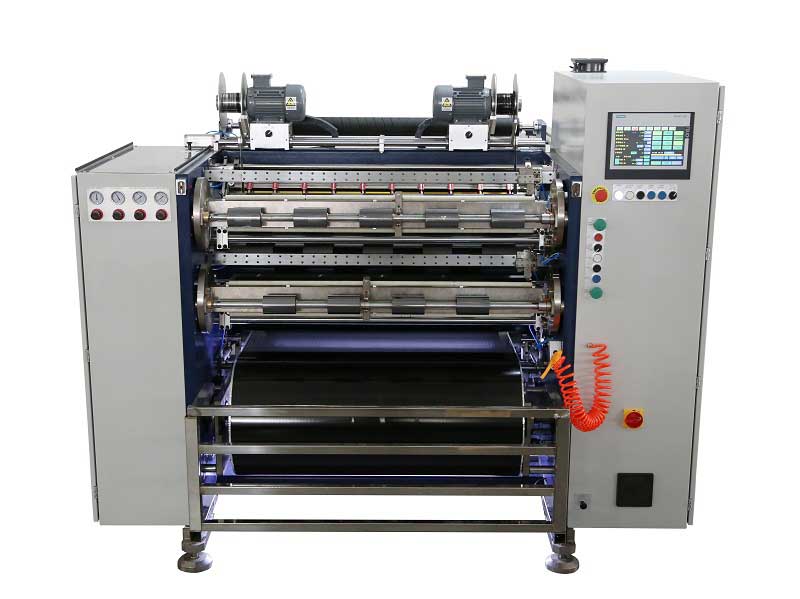 Automatic Thermal Transfer Ribbon Slitter RSDS8 H PLUS
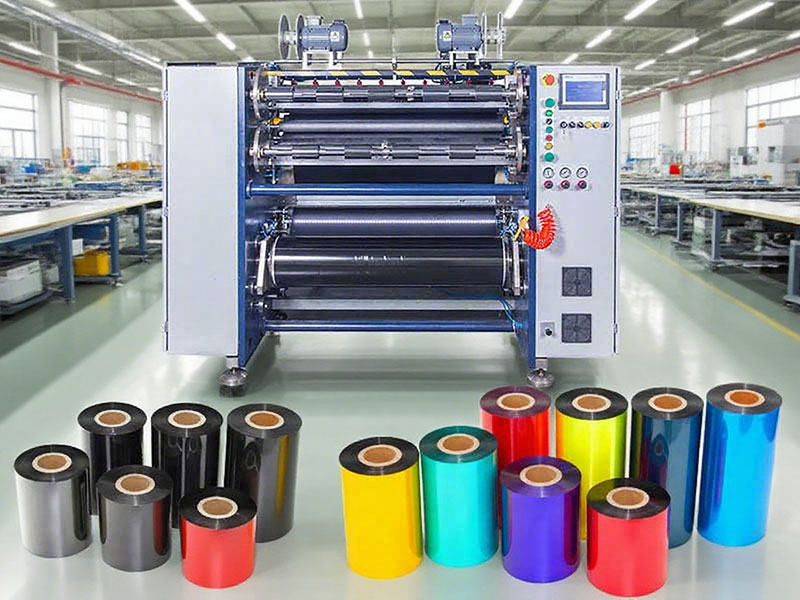
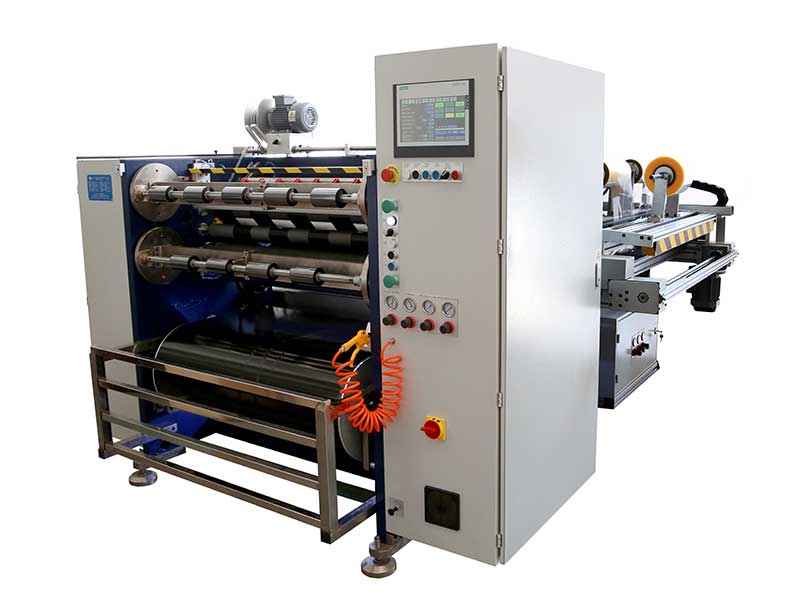 Automatic Thermal Transfer Ribbon Slitter RSDS6 PLUS
 Semi Automatic Thermal Transfer Ribbon Slitter RSDS1 PLUS
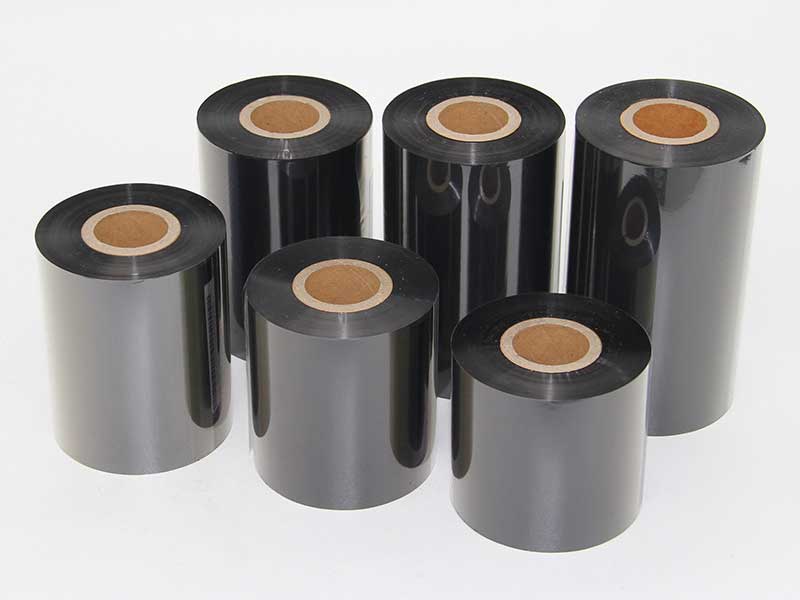
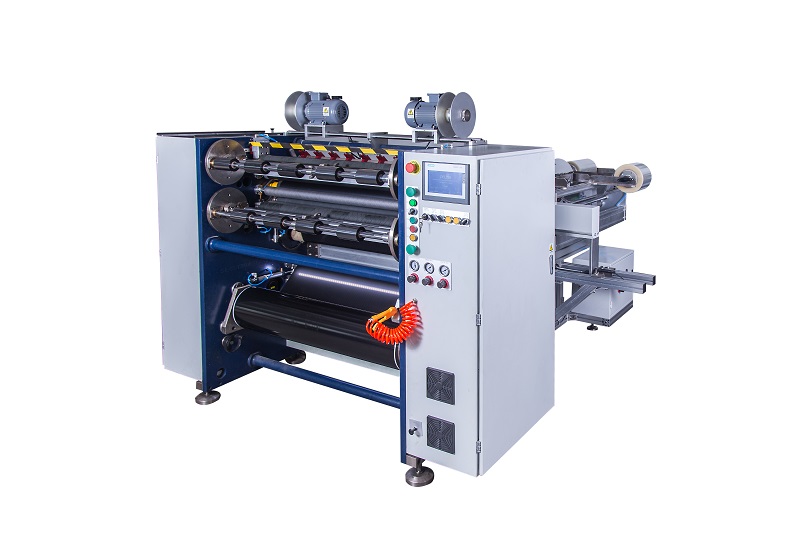 Semi Automatic Thermal Transfer Ribbon Slitter RSDS2 PLUS
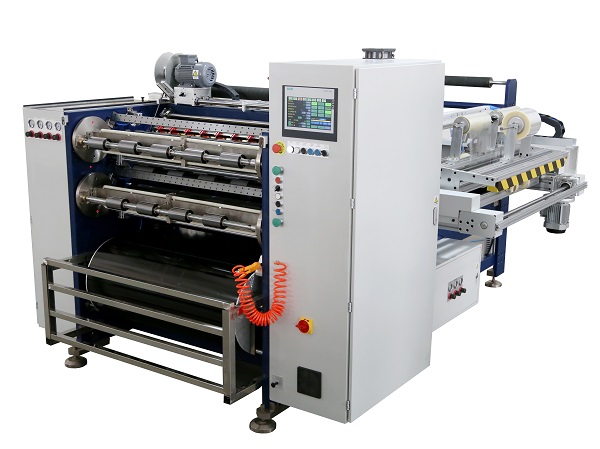 Automatic Thermal Transfer Ribbon Slitter RSDS8 PLUS